How to Install a Floating Floor
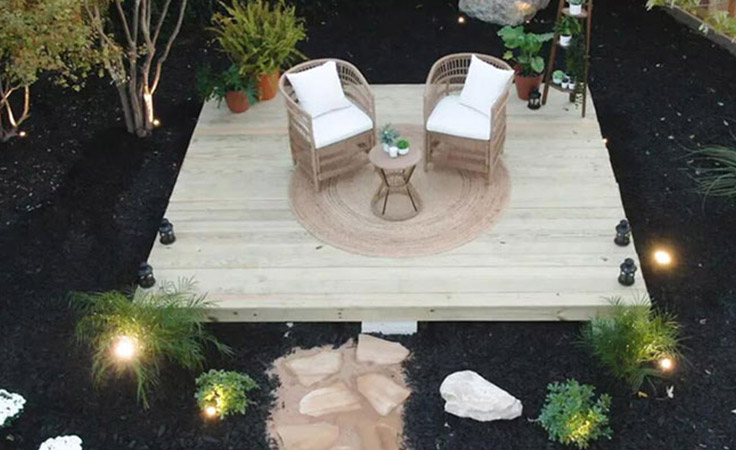
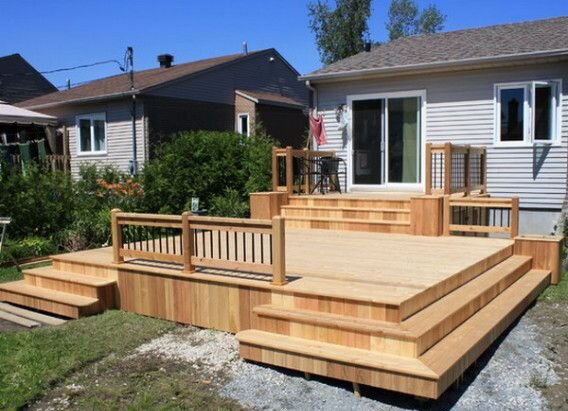
Friday, June 30, 2023A floating floor is an outdoor floor built on the ground and not connected to any structure, including your home. Also known as freestanding floors, they are easier to build than attached floors. Building permits are not required as long as they are not more than 70cm above the adjacent ground level.
Building a floating floor is relatively simple. It does not require a deep foundation and can be installed directly on the ground. Or it can be placed on a bed of gravel. It also does not require floor rails or steps to be installed.
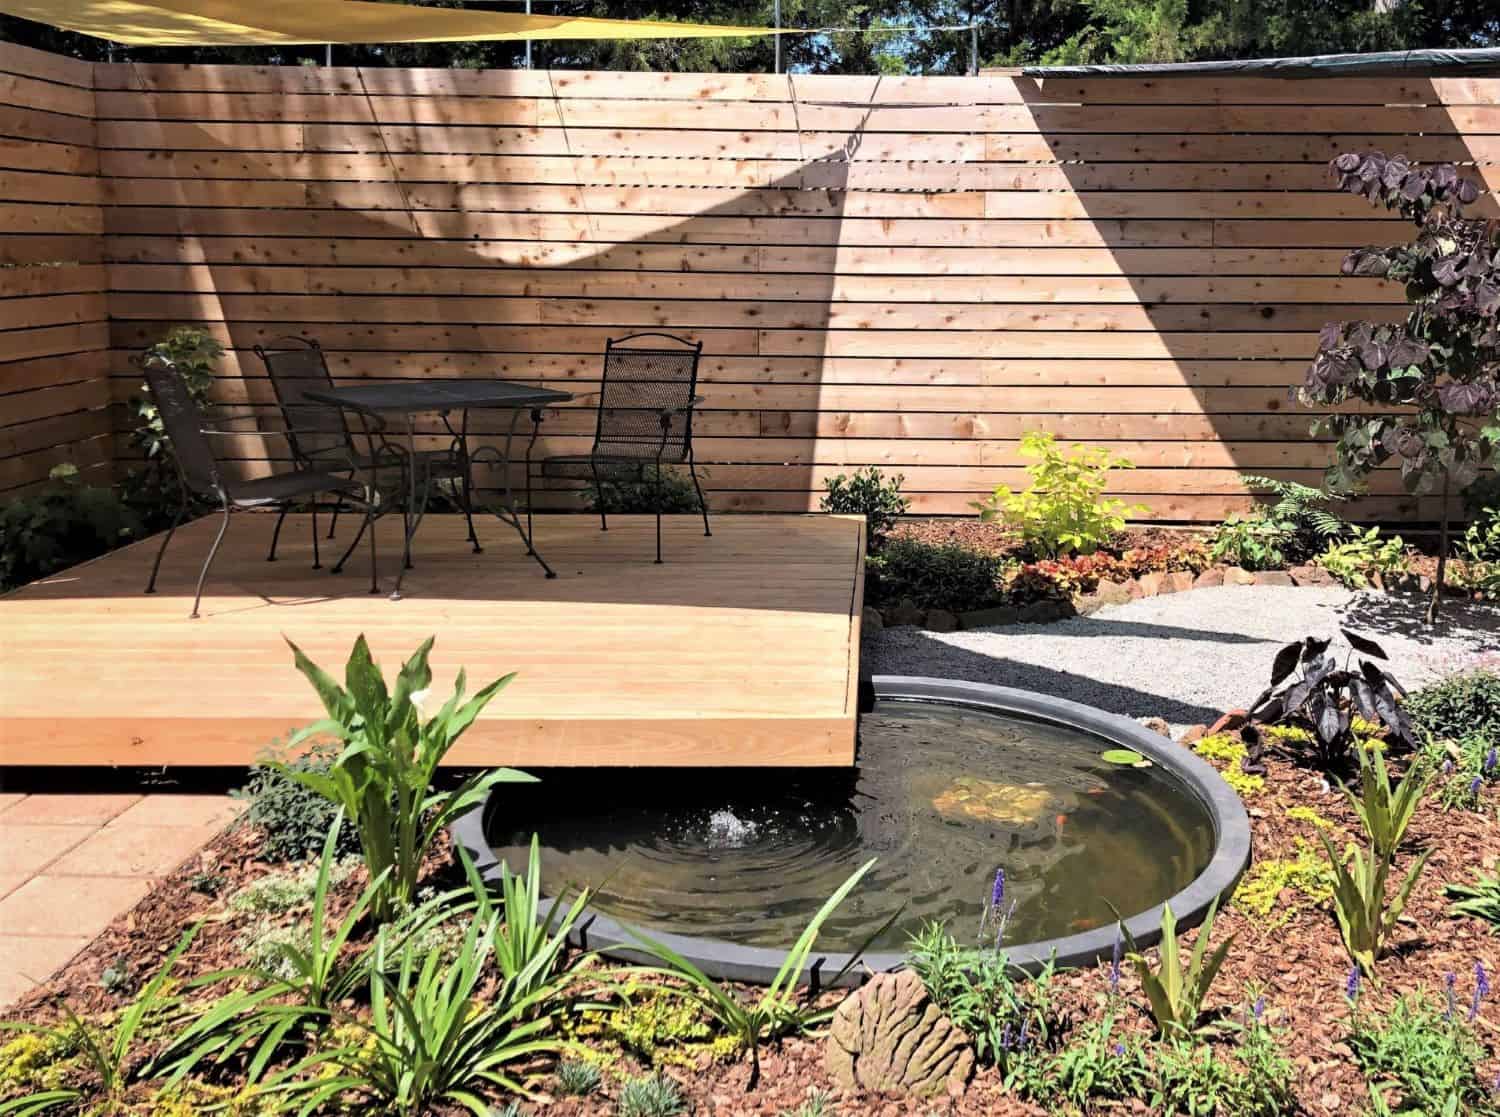
If you choose wood as the material for your floating floor. Then you’d better build the floating floor on concrete blocks. This will keep moisture from the wood deck off the ground, keeping it drier and easier to use for longer. Or you can choose plastic wood flooring as the material of the floating floor. Wood-plastic floor materials have good waterproof and moisture-proof properties, and it can adapt to more complex environments.
Installation Notes
Prepare the floor installation area
Clear the ground for flooring installation, removing grass and other debris as needed. Rake the ground and compact it with a hand rammer. Spread a landscape fabric over the soil and add a layer of gravel, if desired, to keep weeds from growing under the deck.
Set concrete blocks
Arrange the four concrete blocks to form a rectangle so that they are 3.6 meters apart along the long side of the rectangle. Measure from the center of the concrete block, about 3 meters apart along the short sides.
Place a wooden block between each pair of corner blocks so they are evenly spaced. Add one or more blocks to the center of the rectangle, if desired. This can make the floor feel more stable, but is not necessary to support the interior joists.
Use a standard spirit level and a 3.6m straight board to ensure all floors are level with each other. Add or remove gravel under the block as needed to level the floor.
Build the frame
Clear a flat lawn to build the floor frame. You can also build floors on top of concrete blocks if necessary. Cut 10 pieces of pressure-treated flooring material into 2-meter-long standard joists with a circular saw or power miter saw. Or you can just use the WPC joists that come with the WPC flooring. This is an easier and less time-saving method of installing garden floors.
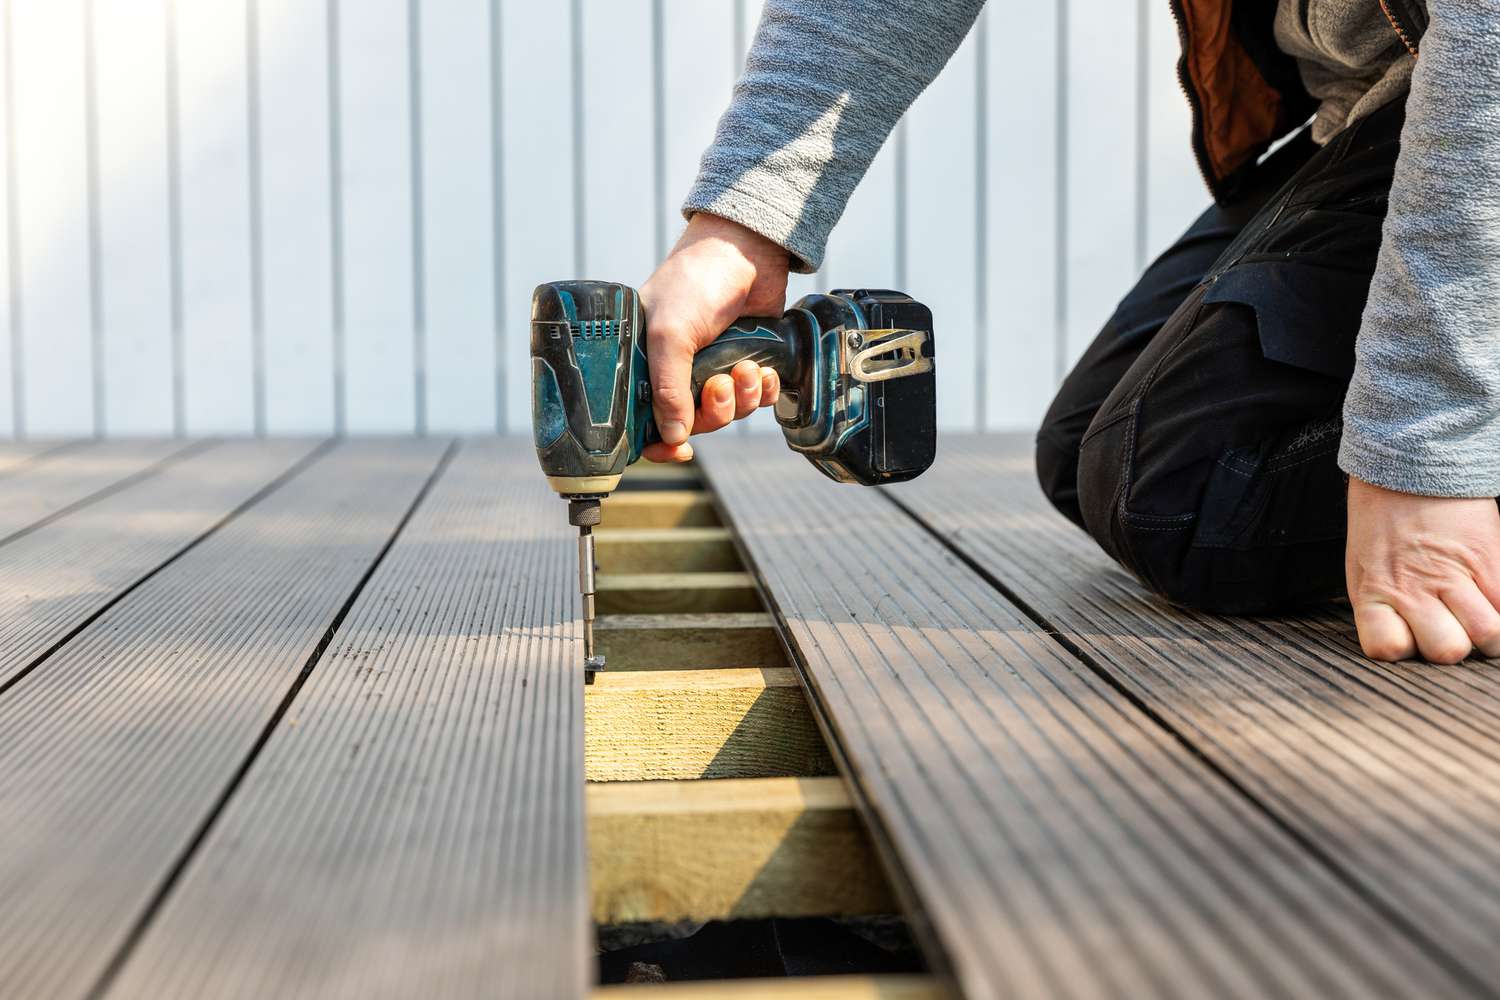
Use a drill to drill pilot holes in each corner and secure the two joists with three matching deck screws. Measure from the inside of one corner of the frame and make a pair of marks every 40cm along with a 3.6m long joist. Mark the other end of the joist the same way.
Add two more standard joists to the frame so that each end is between a pair of layout lines, making sure the tops of the joists are flush. Drill pilot holes and secure end joists and standard joists with three matching screws at both ends.
Orientation and placement of deck frames
Place the deck frame on the concrete block so that the frame section is in the center of the concrete block. Measure between diagonals. Push the frame away from the diagonal as needed so it is square. When the diagonal measurements are equal, the frame is square.
Check frame
Verify that the deck frame is level and in firm contact with each concrete block. If necessary, add or remove soil or gravel beneath the frame to adjust its height.
Install remaining joists
Install the remaining six standard joists according to the layout lines. Remember to make the standard joists flush with the tops of the end joists. This will ensure that the trim board lays flat.
Install decorative panels
Measure all 3.6m lengths of floorboards and trim as necessary to make each length consistent. Place a trim board along one long edge of the trim frame so that it is flush with the outside surface of the end joists. Alternatively, you can place the first and last boards on the joists. This way they overhang about 2.5cm for a full look. Note that both sides of the frame will not have the same overhang.
Drill a pair of pilot holes for each standard joist, one hole into the end joist and one hole into the standard joist. Off center the holes slightly so they don’t interfere with the screws in the frame. Secure the floor to the joists with 5cm deck screws.
Install the next trim board on each standard joist with two screws, spacing the two trim boards about 3mm apart. Install the remaining trim panels using the same technique, spacing them evenly.
Tips for Building a Floating Floor
Pressure-treated lumber is the cheapest option for floating decks. For a modest upgrade, you can opt for Ponderosa Pine floors as your finish. It generally has fewer knots and looks better than standard pressure-treated floors. The ladder moving up is cedar, followed by redwood. These materials were chosen only for their appearance. They are not as resistant to rot as treated wood. There are also many people who choose wood-plastic flooring. Made from recycled plastic and wood pulp, it’s environmentally resilient and doesn’t require regular maintenance on your part.